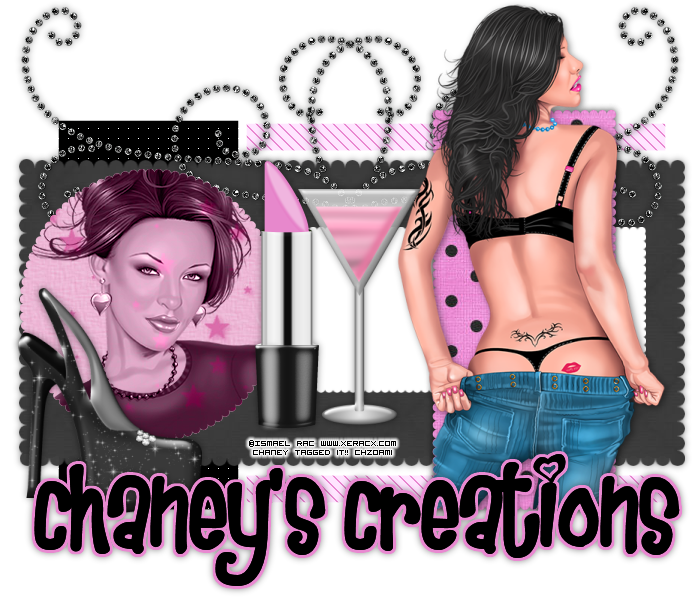
By chaneyjo
I am using artwork by Ismael Rac you can get his artwork at AMI here
Template made by me you can download below
Scrapkit by Unleashed Scraps. Get it here
Filters- xero fritillary and radiance
Begin by opening my template in PSP. Duplicate it and close the original.
Open Paper3 duplicate it and resize it by 50% twice. On the template make sure you have black circle active.
Go to Selections-Select All, then Float, Defloat then copy and paste your paper as a new layer
Selections-Invert and Delete. Select None. Add drop shadow with following setting:
Vertical and Horizontal- 0 Opacity-46 Blur-10.26
Hide the Black Circle layer.
Open Paper4 and resize it by 50% twice. Make sure the Drk Gry circle layer is active.
Go to Selections-Select All, then Float, Defloat then copy and paste your paper as a new layer
Selections-Invert and Delete. Select none. Add drop shadow with following setting:
Vertical and Horizontal- 0 Opacity-46 Blur-10.26
Hide the Drk Gry Circle layer.
Make the Thin rectangles layer active. Selection-Select all, Float, Defloat.
Add a new layer and flood fill with black. Select None. Delect the Drk Gry Rectangle layer.
Go to Plugins and choose the Xero Fritillary with the following settings:
Granularity-5
Aggression-30
Tesselation-10
Variation-40
Make your Gray rectangle active. Select it using your magic wand then flood fill it with the color #ff91b6
Then go to Effects-Texture effects-Blinds with the following settings:
Width-8 Opacity-20 Color black and Horizontal and Light from left/top checked.
Make the Words layer active. Go to Select-Select all, Float, Defloat, Modify- Expand by 3.
Add a new layer and drag that layer under the words later and flood fill with #2d88b3 Select none.
Now time to add the tube/tubes.
Copy and paste one tube and center it in the "gray rectangle" layer. Resize if needed and delete and excess with the selection tool.
Add drop shadow with the same setting except change Vertical and Horizontal to 2
Copy and paste the closeup as a new layer, mirror, move down to the "drk gry circle"
with the drk gray circle active go to selections-Select all, Float, Defloat. Activate the Tube layer, Selections-Invert, Delete.
Go to Xero Radiance and use the Default settings.
Paste the Closeup again and a new layer. Center on the Black Circle layer.
with the black circle layer active go to selections-Select all, Float, Defloat. Activate the Tube layer, Selections-Invert, Delete.
With tube layer still active go to Layers-Properties and choose Luminance Legacy.
Now add any elements you like to finish it off. Dont forget the artist credits.
Hope you enjoyed this tut. I would love to see your creations so email them to me at ChaneyJo@gmail.com and I'll add them to my blog.


No comments:
Post a Comment